Installation
Guide
Your NOOKS Board has arrived and you’re ready to get it up on the wall!
The process of putting your brand new NOOKS Board up on the wall in your house, flat, van or anywhere else with a sturdy wall is not complicated. You do need a few tools, as you’d expect, but nothing major. If you are not comfortable with basic DIY skills, or if you would just prefer, then get someone to help you out who is. There are no prizes for getting up on the wall fast, but you’ll be much happier if it’s up level and is fixed to the wall securely.
We supply screws and general purpose rawl plug (screws only for Van Style) that are suitable for a wide number of applications. However, if you are screwing your board into plasterboard or brick (for example), we recommend using rawl plugs specifically suited for these materials. Using the correct rawl plug and screw combo will ultimately determine how strong your board will be up on the wall. Believe us, the board will not break, but if it is incorrectly installed it might not stay up on the wall as well as you would like.
1. GOT EVERYTHING?
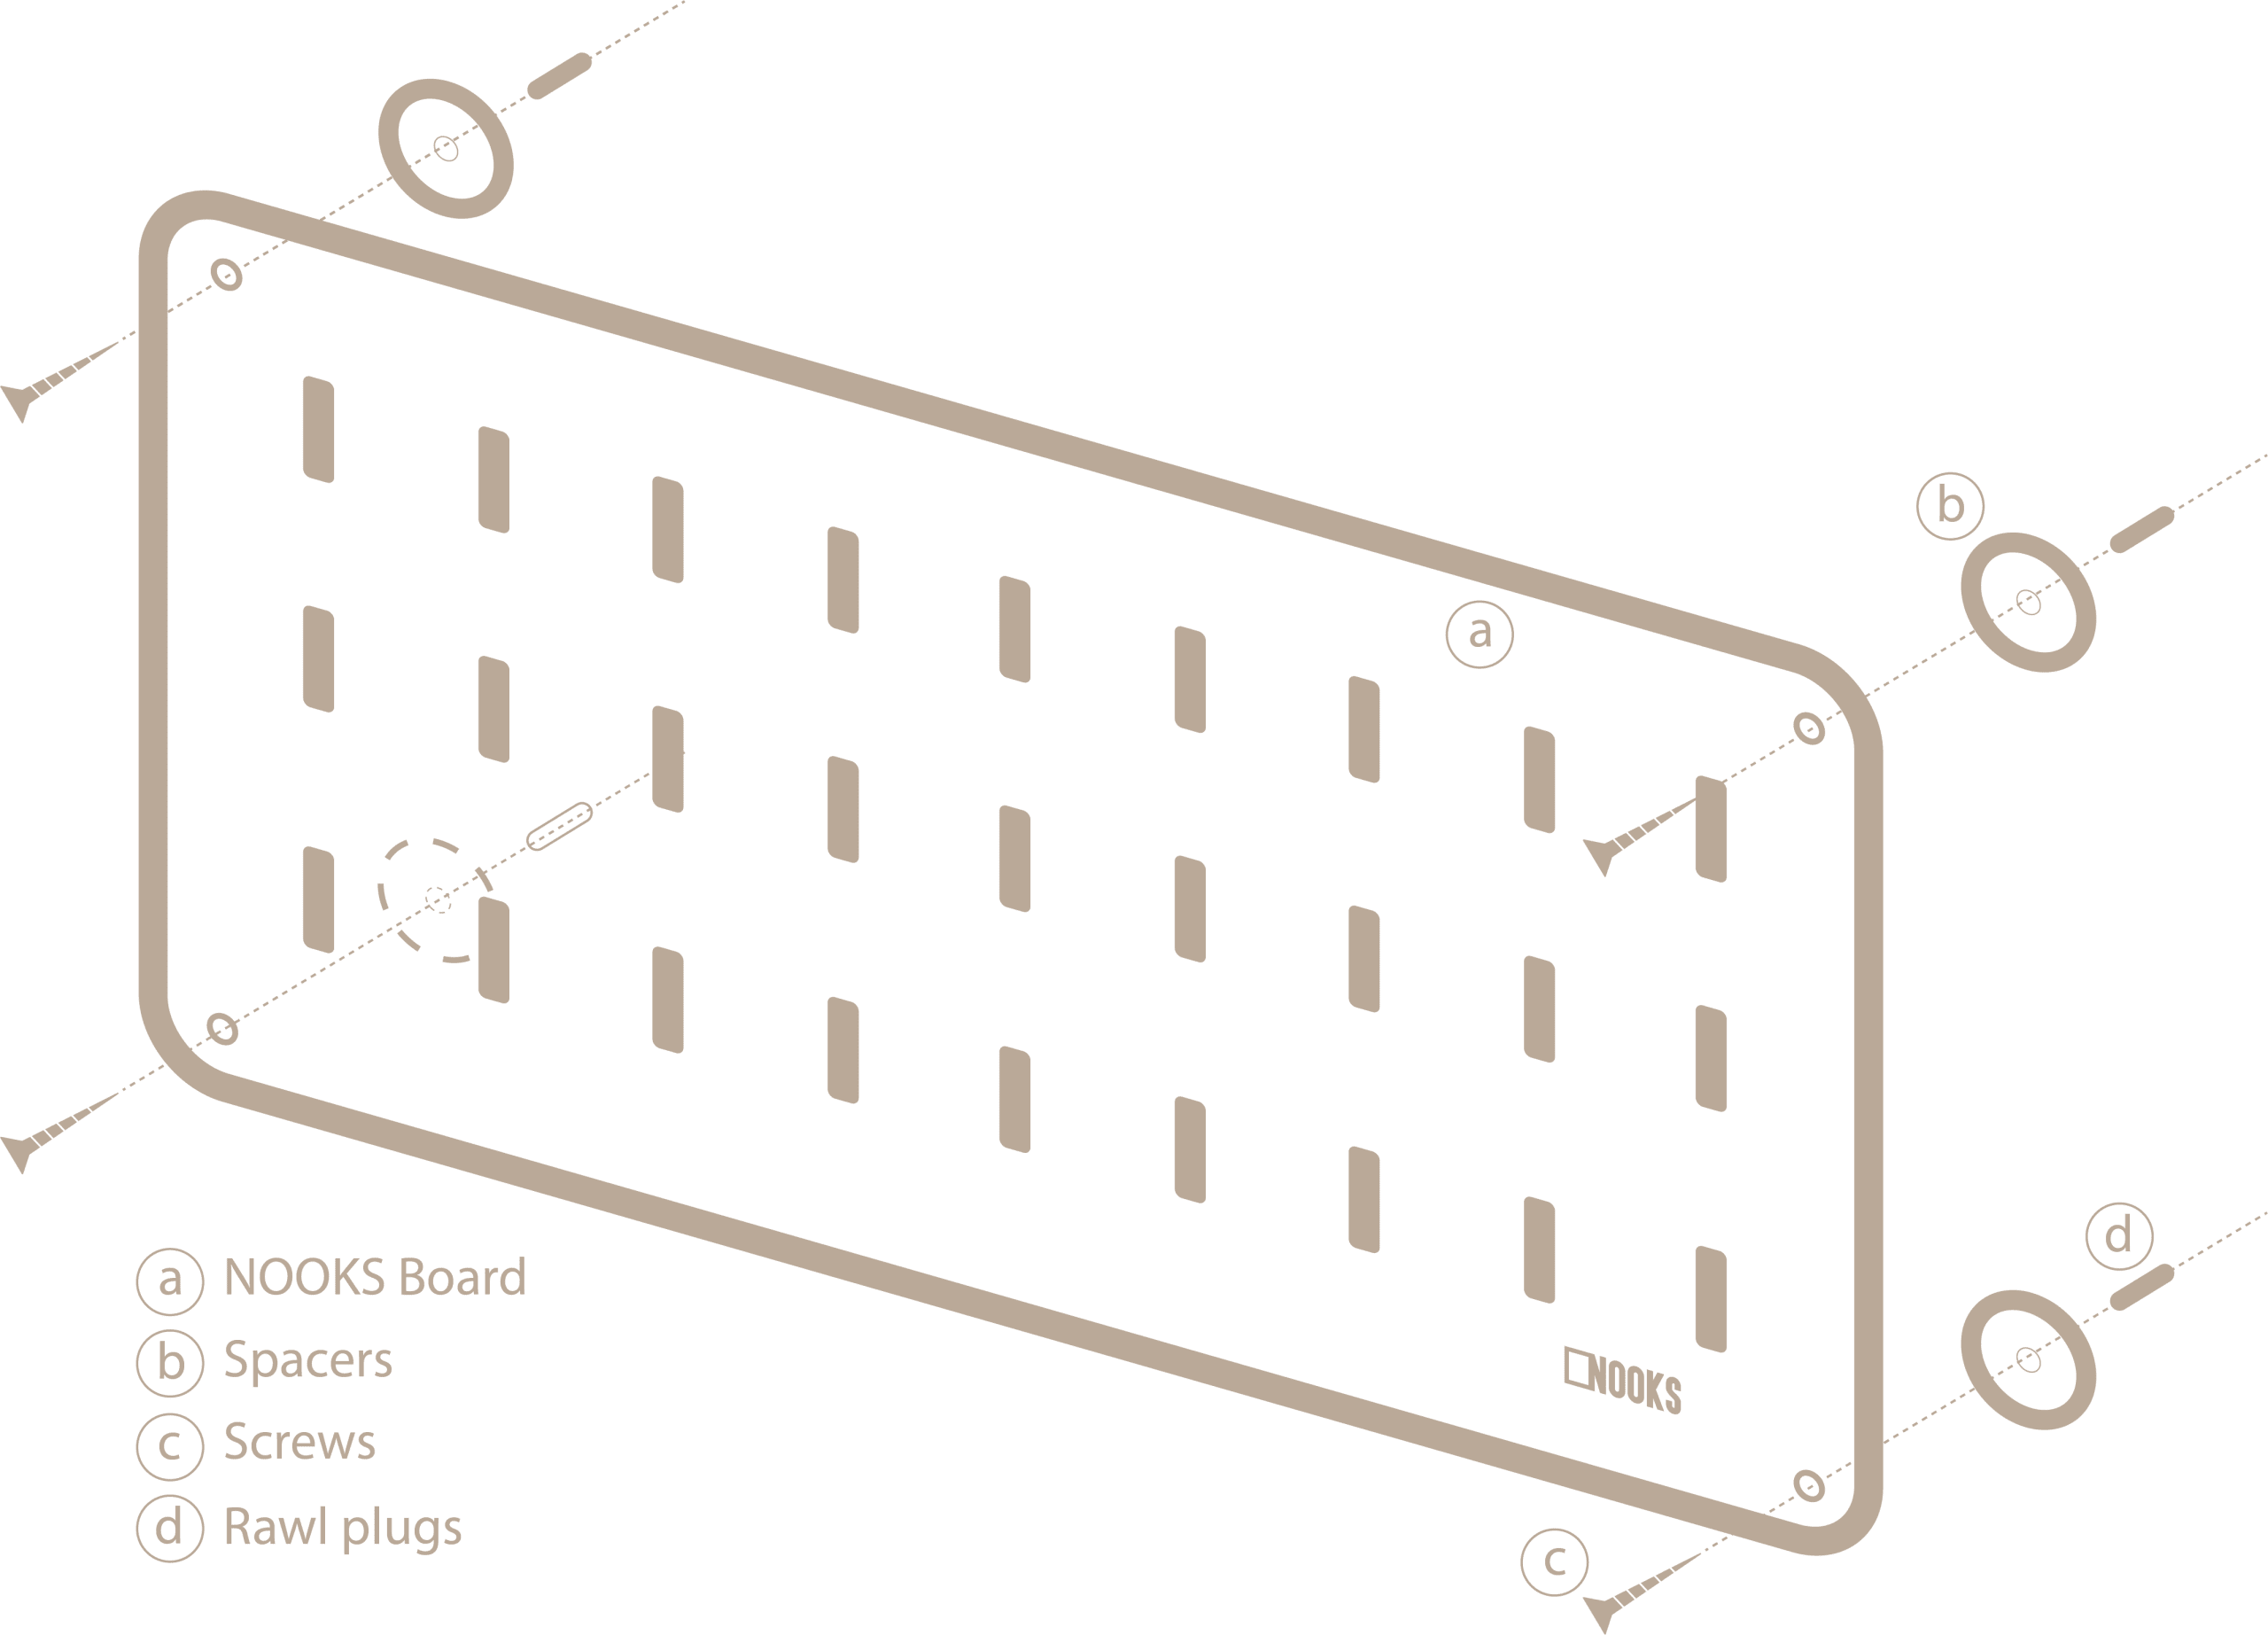
First thing’s first, unpackage your NOOKS Board and check eveything is there. You should have:
- 1 x Board
- 4 x Spacer Discs
- 4 x Hooks
- 2 x Shelves + 2 x Shelf Arms (if you have the Van Style, the shelves are replaced by 2 x Tall Hooks).
- 4 x Screw & Rawl Plugs (Van Style has just screws)
- NOOKS Vinyl Sticker
2. WHAT YOU’LL NEED
So this is a pretty straightforward installation, so all you will need is:
- Pencil
- Drill & 7mm Drill Bit
- Star Head Screwdriver (electric is easier, manual is possible!)

3. WHAT YOU’LL DO
OK, it’s business time. As we say, this isn’t complicated but you’re going to want to get it right first time round!
Once you’ve decided where your NOOKS Board is going, make sure you then select a height that’s suitable for the contents of the board, particularly if you are hanging items.
Position the board level on the wall and mark your screw points (double check this once you’re happy).
Drill to the depth of the rawl plug on all four corners. (Vans can ignore that last bit) Then, holding the board and spacer in place, screw one top corner in 90% of the way. Then repeat this for the other top corner, followed by the bottom two.
Lastly fully tighten all screws to 100% and your board is up!
4. CONFIGURING YOUR ACCESSORIES
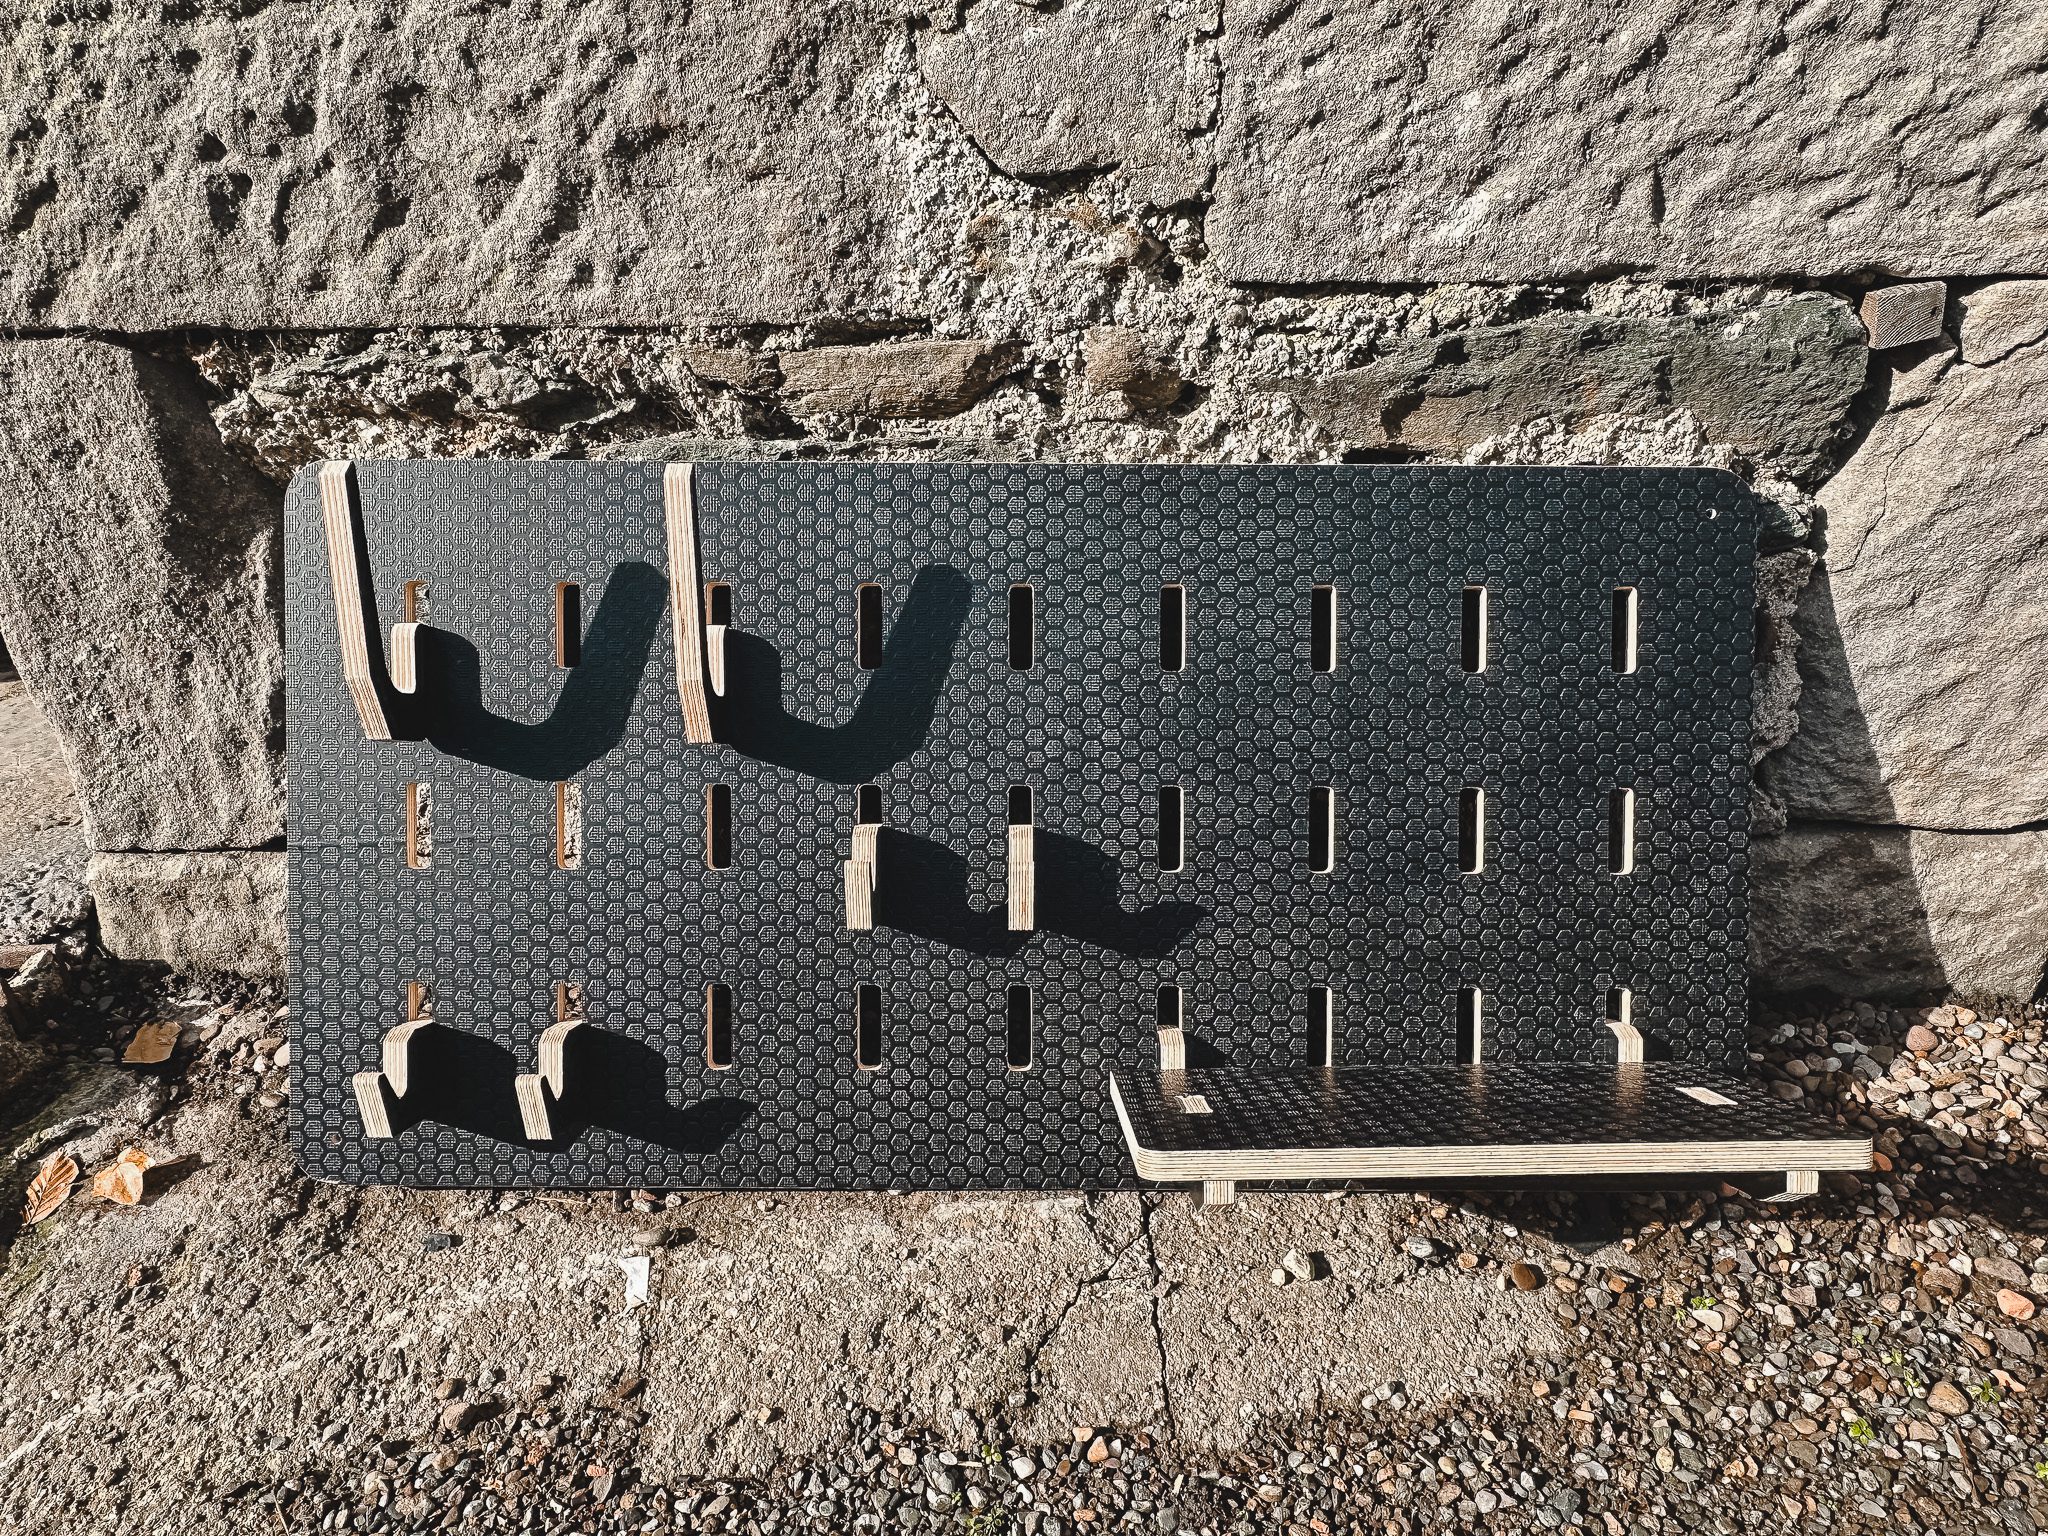
The fun bit! It’s totally up to you. Try a few different variations out to see what best suits the purpose you have in mind for the board.
If you’d like more options you can buy Accessories Packs here.


